Everyone uses Majestic slightly differently. Different users require different tools, different data and have different priorities. By changing your settings, you can customise your account personal to you, making Majestic even easier to use in your day to day.
The Settings can be found when you hover over your account name.
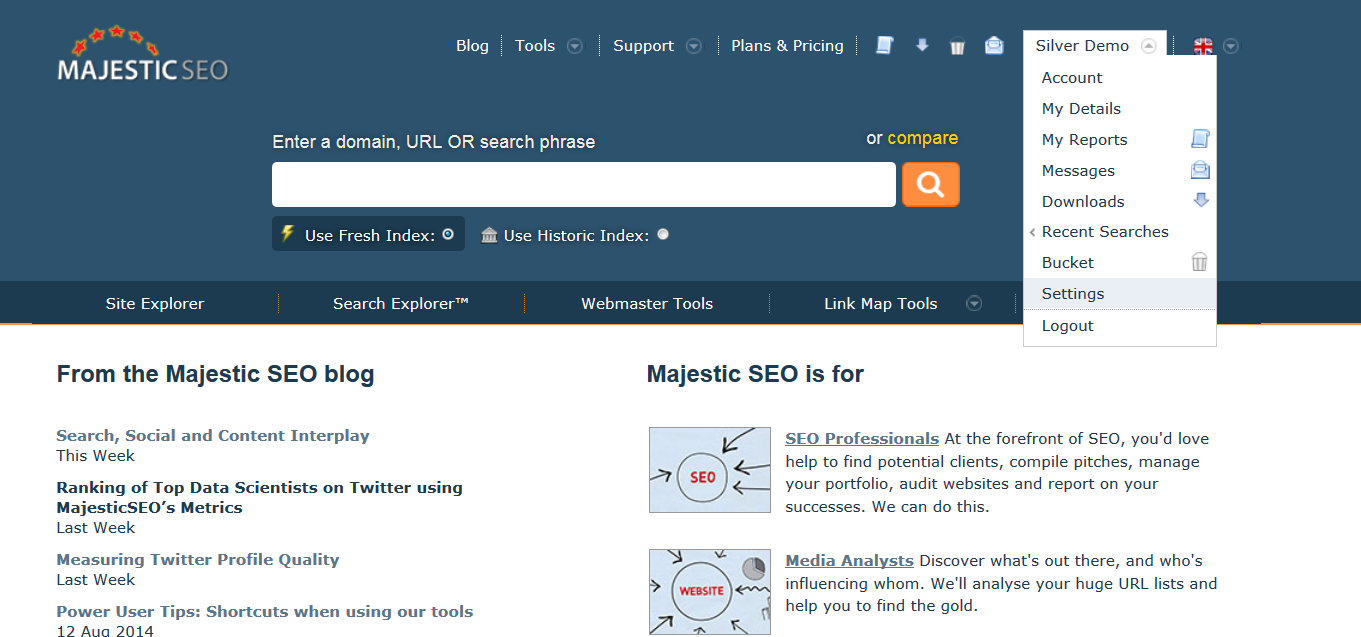
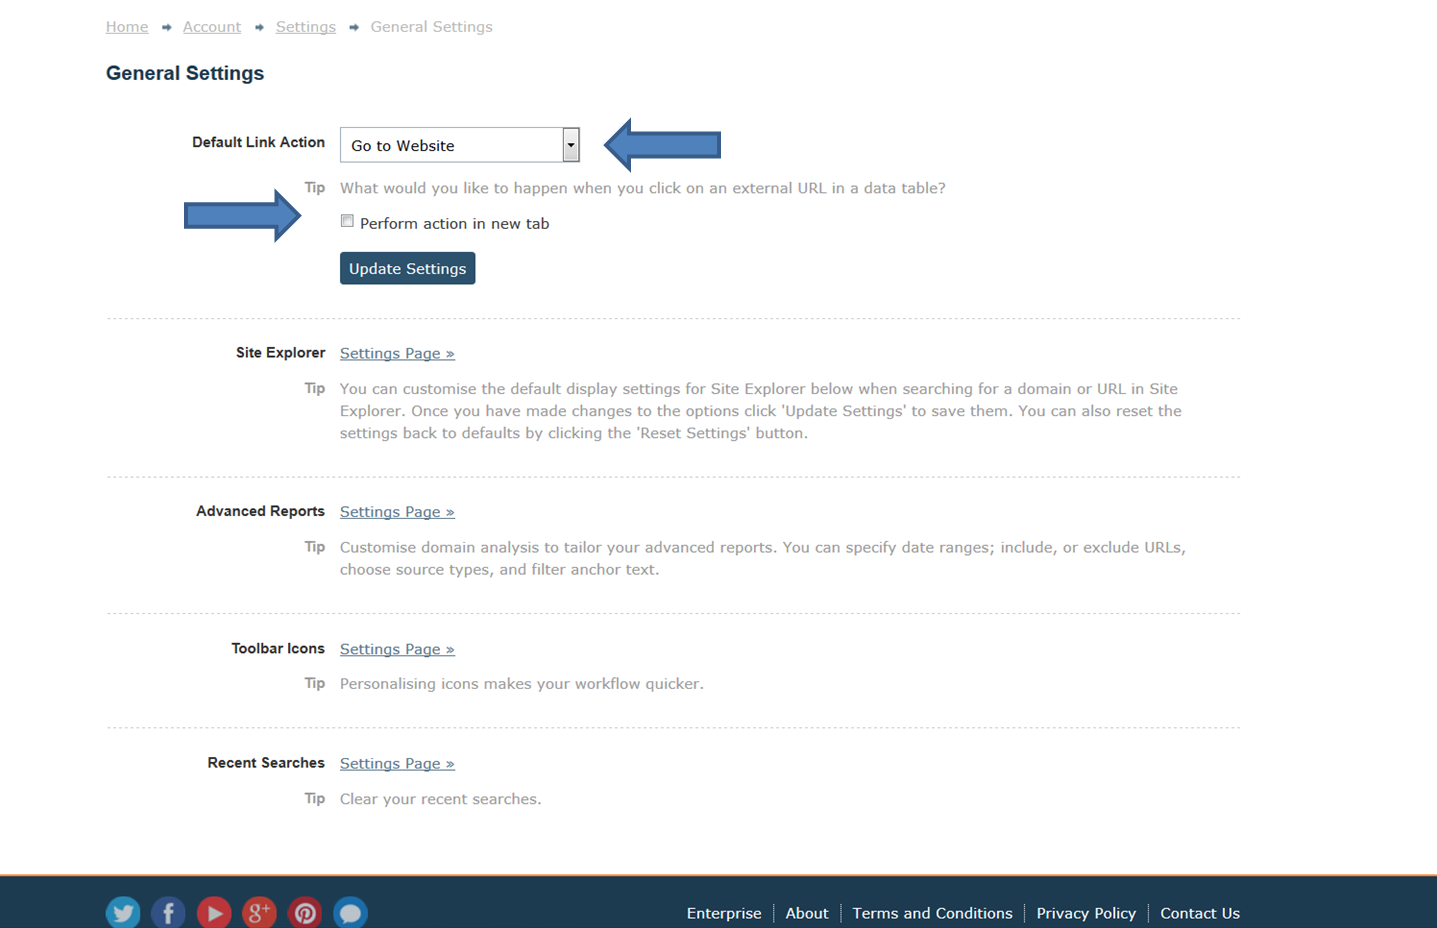
The first option you see will be the action that happens when you click on a link within our site. By default, the action is Go to Website, which of course takes you to that URL. Very useful, however, it does open the link within the same tab. So to automatically have it open in a new tab, make sure that the box is ticked.
On the other hand, maybe you don’t want to visit the sites at all. You want to know our take on the site. Simply set the action to be Open in Site Explorer to immediately take that particular URL into our most utilized tool and check out their backlink profile. Want to go deeper? Change the action to create an Advanced Report. Again, if you wish for these actions to happen in a new tab, make sure that box is ticked!
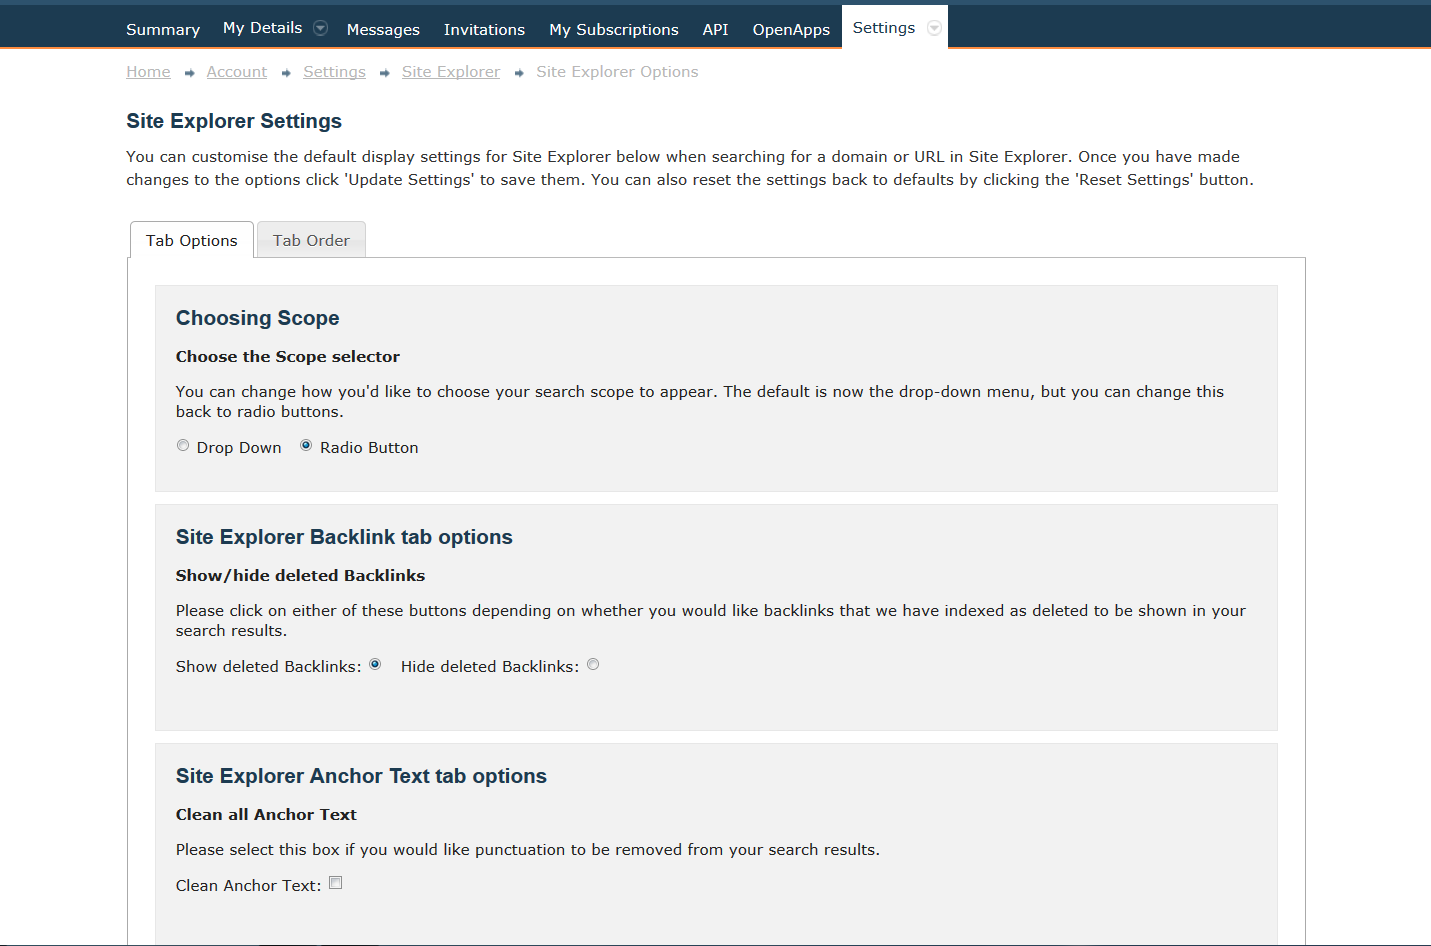
Seeing as the Site Explorer is one of the most used tools, you may want to set out some options that make work easier for you. A few of the options are simple changes, such as if you prefer a radio button or a drop-down menu, automatically showing or hiding any deleted backlinks within the Backlinks tab, how many Referring Domains you wish to see in the Map or if you would like to Clean all Anchor text of punctuation from your results.
In the Referring Domains tab there are very useful drop down menus that you can change depending on what you are looking for within that specific list. Do you find you are always changing the tabs to the same options? Easily set it so that whenever you open this tab, the order is automatically saved and is done for you.
We put in a simple prompt bar if you are using the Site Explorer within the Sub Domain level. This bar notifies you with the number of links found at a Root Domain level. This can show you that there may be some important links that are not being shown. If you would like to switch this useful hint off, just untick the box.
Do you find that you use some specific tabs more than others? Change the ordering depending on your work priorities.
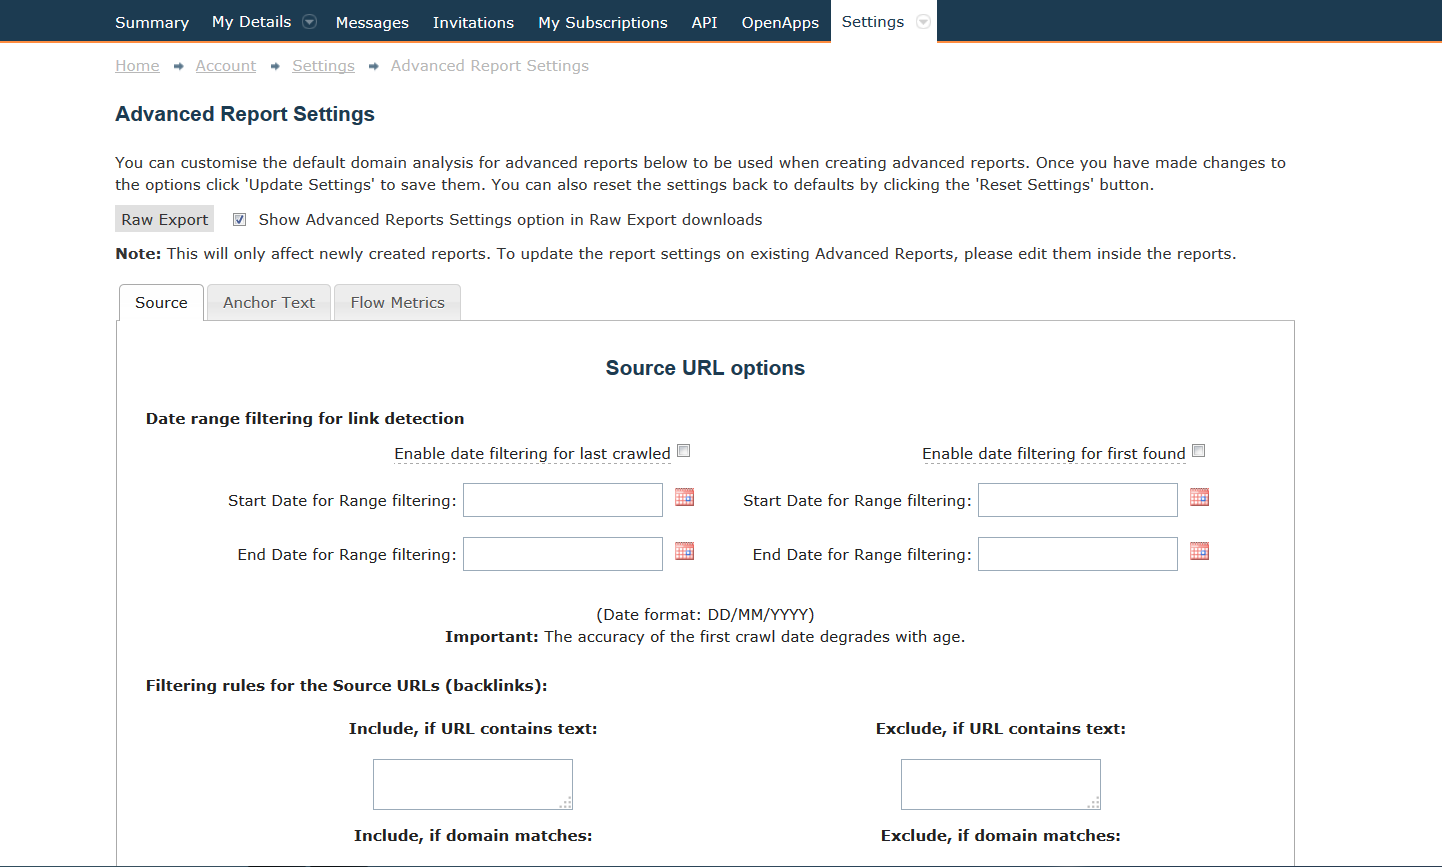
A few Power User Tips posts ago, we spoke about the Advanced Report Analysis Options. These convenient filtering options can help you dig deeper into your analysis. Within the Settings, you can set some automatic default Analysis Options. Only interested in live links? Want to only see links with a Trust flow of at least 20? Not too concerned about anchor text containing www? Set these options your way, so you always get it just right.
The Toolbar icons can make your work flow quicker – shown at the very top of the site, available all the time. Choose what you see between Reports, Downloads, your Bucket and Messages with these tick boxes.

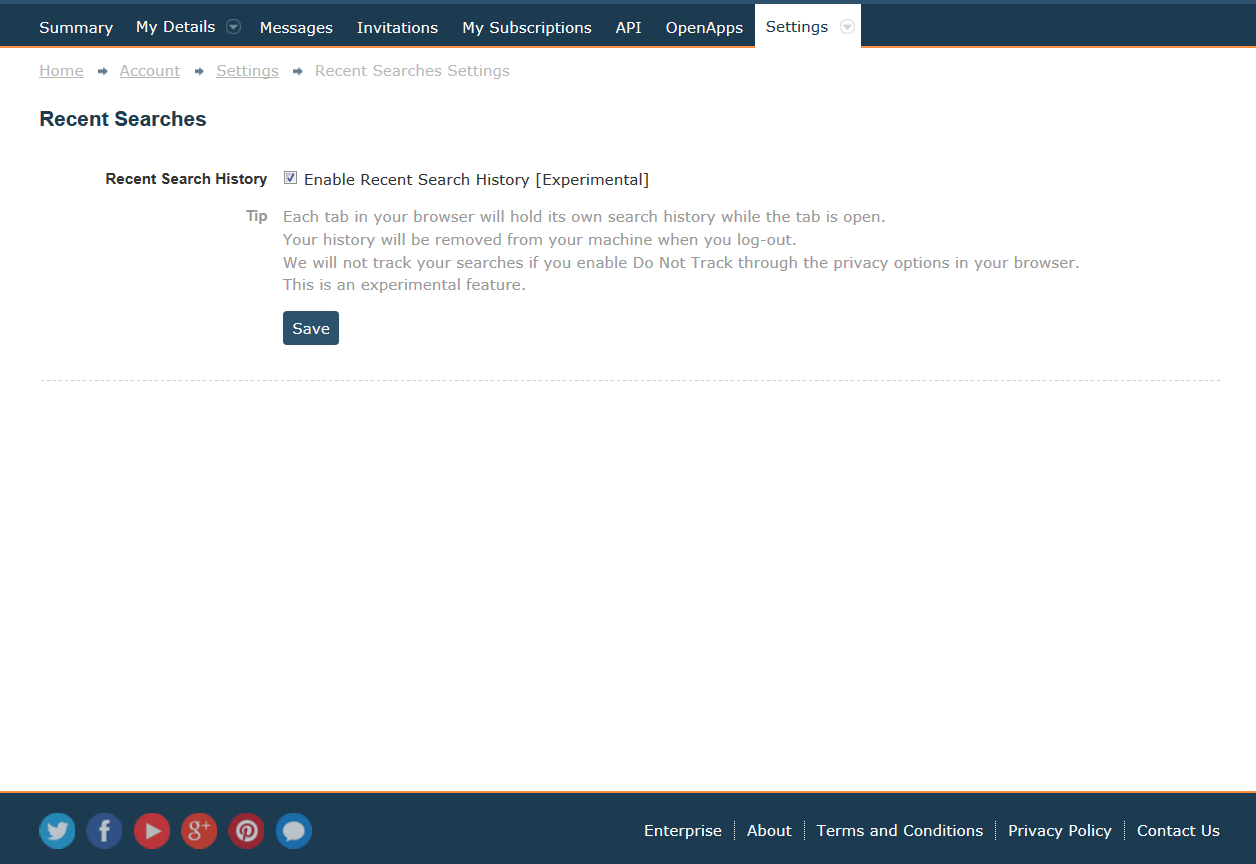
You may have noticed that we have now begun to remember what you have previously searched for while you are logged in. Your Search History can be found under the account name. This can be a really helpful feature, especially if you are always analysing the same websites. Turn this function on or off by using the tick box.
- New Bulk Backlink Checker Features - May 13, 2016
- Finding New Link Opportunities Just Got Easier! - March 16, 2016
- Were Your Lost Links Really Deleted? - March 15, 2016


Thanks, those are really good tips for website or blog improving
August 26, 2014 at 10:48 pmThis is going to sound really sad, but now when I click on referring domains, it’s sorted exactly how I want it. Every time. Without fail. It’s sometimes the small things that make us happy!
September 1, 2014 at 12:45 pmOur UX guy is going to be SO happy with that comment 🙂
September 1, 2014 at 1:10 pmNow all I need is for it to make me a cup of coffee on demand and I’m sorted
September 1, 2014 at 2:26 pmOoo i wouldn’t mind that myself!
September 1, 2014 at 2:30 pmHa ha – speak to the man in charge. I’m sure he has the power and the brains
September 1, 2014 at 2:52 pmThank you
September 16, 2014 at 2:49 pm