


Majestic has some very advanced custom extract options buried away in it’s core. These custom extracts are called “Advanced Reports”. Advanced Reports are one of the oldest parts of the website. While powerful, Advanced Reports can be complex for new users to navigate.
This guide will take you from Site Explorer into Advanced Reports. Our initial use case – finding pages on a given site which are reported to have non-deleted links from other sites.
We will look at:
- How to create an Advanced Report
- The Analysis Options
- How to download data from an Advanced Report
- What to do with the compressed datafile when it is downloaded.
Let’s begin!
How to create an Advanced Report
You may have seen a few references to “Create Report” on the Majestic Site. Many of them will take you to the Advanced Report creation screen. However – the route we will look at today uses the “Cog” menu which you’ll see next to many URLs on the site.
For the purpose of this guide, let’s assume our process begins with a Site Explorer subdomain search, such as one for “blog.majestic.com”:
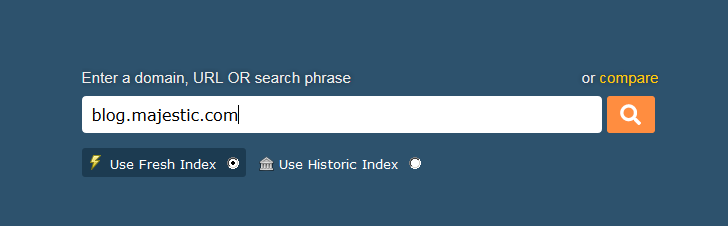
After Searching, the cog becomes active on the right hand side of the search bar. The menu activates on hover:

We want to choose the option called “Create a Report”. This takes us to the “Create Report” screen. Enhancing this functionality is high on our todo list – for now please bare with us – there is a lot of power available in the advanced report tooling. Your screen may look slightly different than the one below – but the key menu choices should be available.
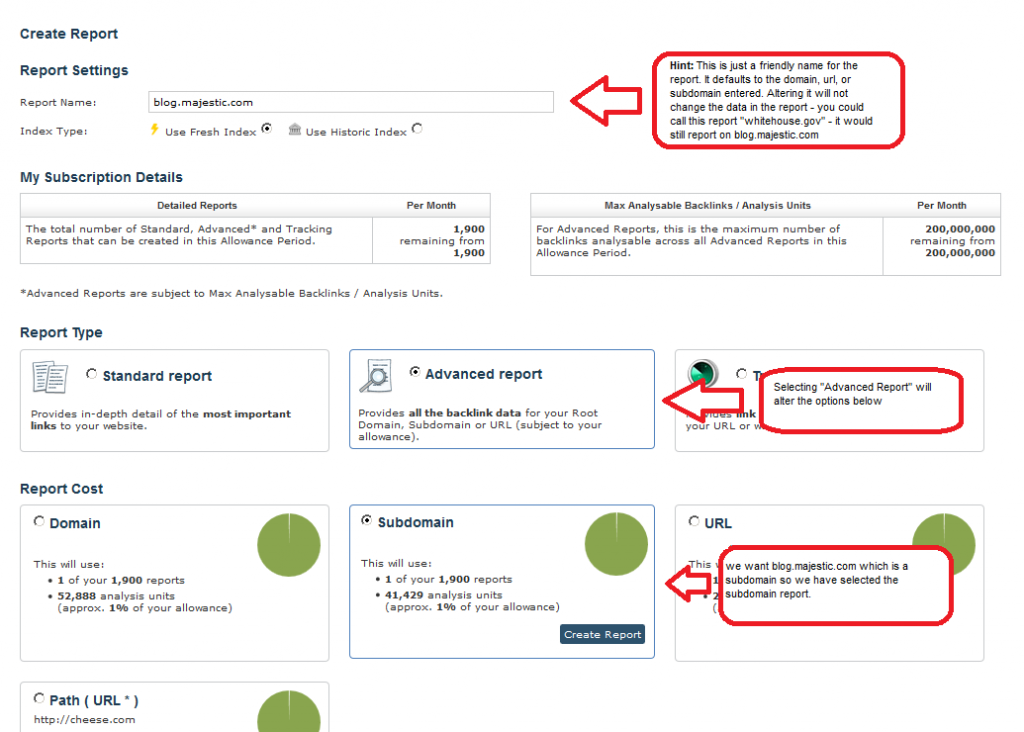
There are three key interactive sections on the “Create Report” Screen:
- Report Settings – This has two choices – the index type and the report name. The report name is just a title for the report – changing this text does not change the site or URL the report is generated for). Pro users ( plus some grandfathered users on other plans ) can change the “Index Type” from Fresh to Historic.
- Report Type – The options here may vary – A full data extract is referred to as an “Advanced Report”. If you have them – ignore Standard Reports and Tracking Reports. For most use cases, Site Explorer and Campaigns are superior alternatives.
- Report Cost – This is context senstive depending on the “Report Type” selected. For advanced reports, you can select between Domain, Subdomain, URL and Path. These correspond to the analysis levels in Site Explorer. In this example – we chose the subdomain option as we just want to look at the blog.majestic.com subdomain.
After configuring the report parameters, click “Create Report” to prepare your Advanced Report. You’ll now be presented with an interstitial page while your advanced report is being configured.
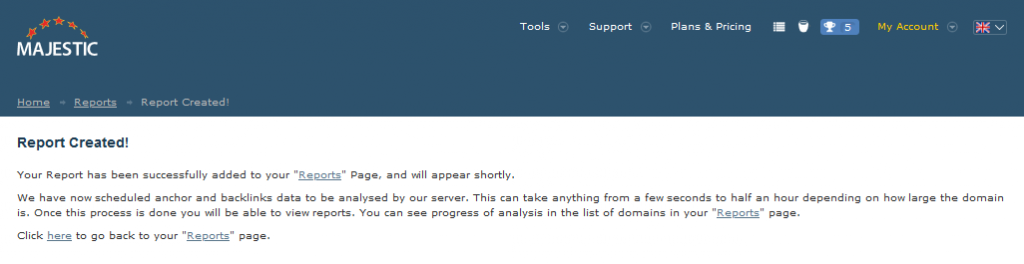
From the “Report Created” interstitial page, we can take one of the many links to the “Reports Page” ( Also available via the “My Account” Section ). In a time long, long ago, before Majestic Site Explorer, the “My Reports” page was once the data analysis capital of the Majestic platform. If you are fortunate, the report will be prepared and available by the time you arrive on the page – if not, it may be necessary to refresh a few times further before proceeding.

The “My Reports” page is a repository for reports generated via the “Create Report” screen. It’s split into a small number of sections – “Folders” at the top, with Advanced Reports listed below. Folders work a little like a file system on a desktop PC – there can be a number of reports in any folder, and folders may contain other folders. The Advanced Reports shown on this screen are limited to the folder you are currently in. New users will have no sub-folders, so the reports will be shown in the “Root Folder” – a folder that is included in every Majestic Subscription.
Clicking on the report link takes you to a summary of the report ( the entire detail is only accessable via download ). This summary report contains some data-previews based on a small amount of data generated from the extract, and a number of analysis and download options which can be configured to provide a huge range of data extract options.
Introduction to Analysis Options
As mentioned above – the Advanced Report contains two main parts – summary data and data extraction options. This choice is reflected across three sub-menus in Advanced Report – “Summary Reports” – which contains the summary reports, with the data extraction options being shared across “Download Options” and “Analysis Options”.
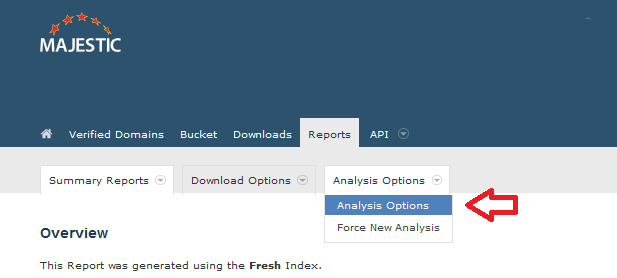
Why two tabs for data extraction? A quick explanation – “Download Options” contains options that transform the download significantly. “Analysis Options” provides a way of filtering the rows of data returned.
For the purpose of focusing on pages returned with deleted backlinks, we will need to use both tabs. Let’s first look at the Analysis Options menu item inside the tab of the same name.
There are four sub-tabs within the Analysis Options screen and two buttons. The tabs each contain a number of filters associatted with the tab name:
- Target – Contains Target URL filters – such as the ability to limit analysis to either include or exclude up to 100 URLs.
- Source – These filters work on the source page of the backlink, and also contains some link related properties – such as if the link is a frame, or if it is deleted. A handy feature here is to be able to limit the extract to more recently crawled links – reducing datasize but possibly giving a higher proportion of live links when used on Fresh Index reports.
- Anchor Text – The ability to examine rows of data and only return links whose anchor-text matches certain criteria. Links can be included or excluded if they match keywords exactly or contain words within larger phrases
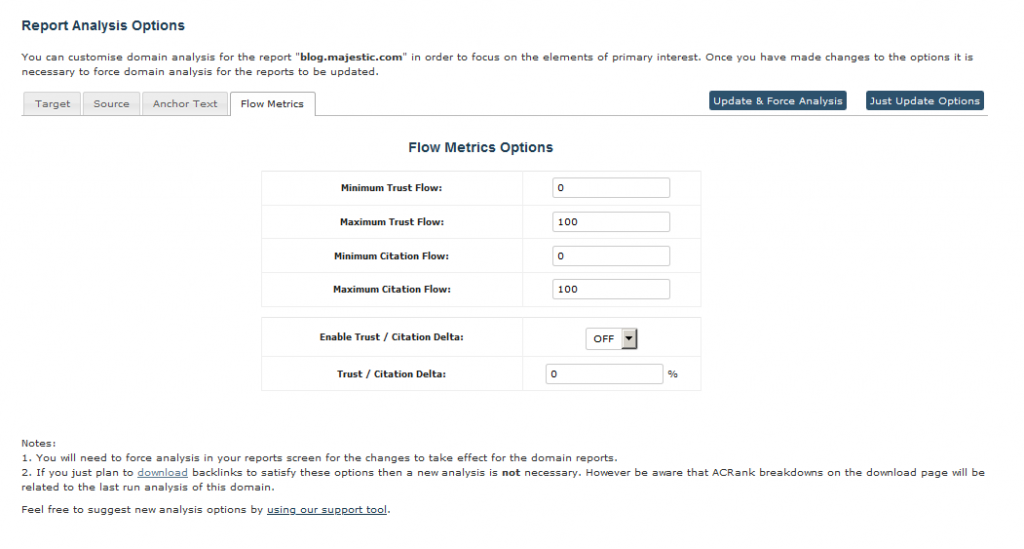
- Flow Metrics – The ability to filter links above or below a certain Trust Flow or Citation Flow, or above / below a Trust Flow/Citation Flow ratio of your choice.
There are two buttons at the top of each tab – “Update & Force Analysis” and “Just Update Options”. If in doubt – use “Just Update Options”. The second option – “Update & Force Analysis” will lock you out of the report while new summary data is generated and the summary stats shown on the “Reports” screen updated. It’s not the end of the earth – but unlikely to be beneficial if all you want to do is create a download.
Let’s have a look at setting up the analysis options tabs to return the data we want.
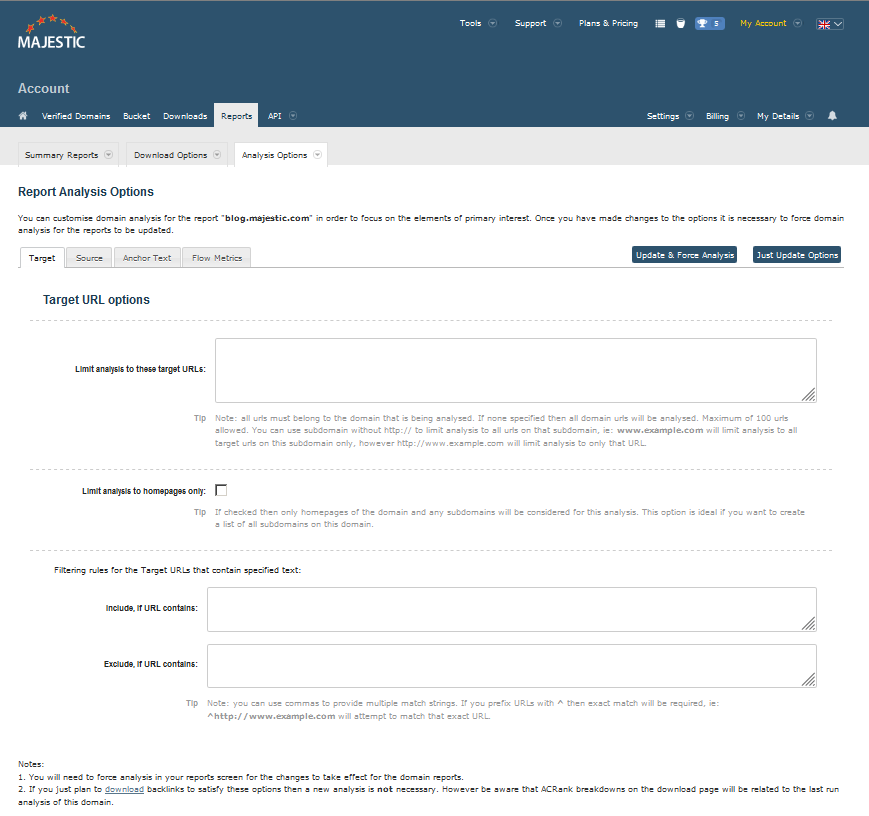
The Target URL page should need no adjusting – however – IF you only want URLs for a number of prefixes – like “/blog” and “/pages” but no where else – try to enter the domain name and prefix to the “Include, if URL includes” box.
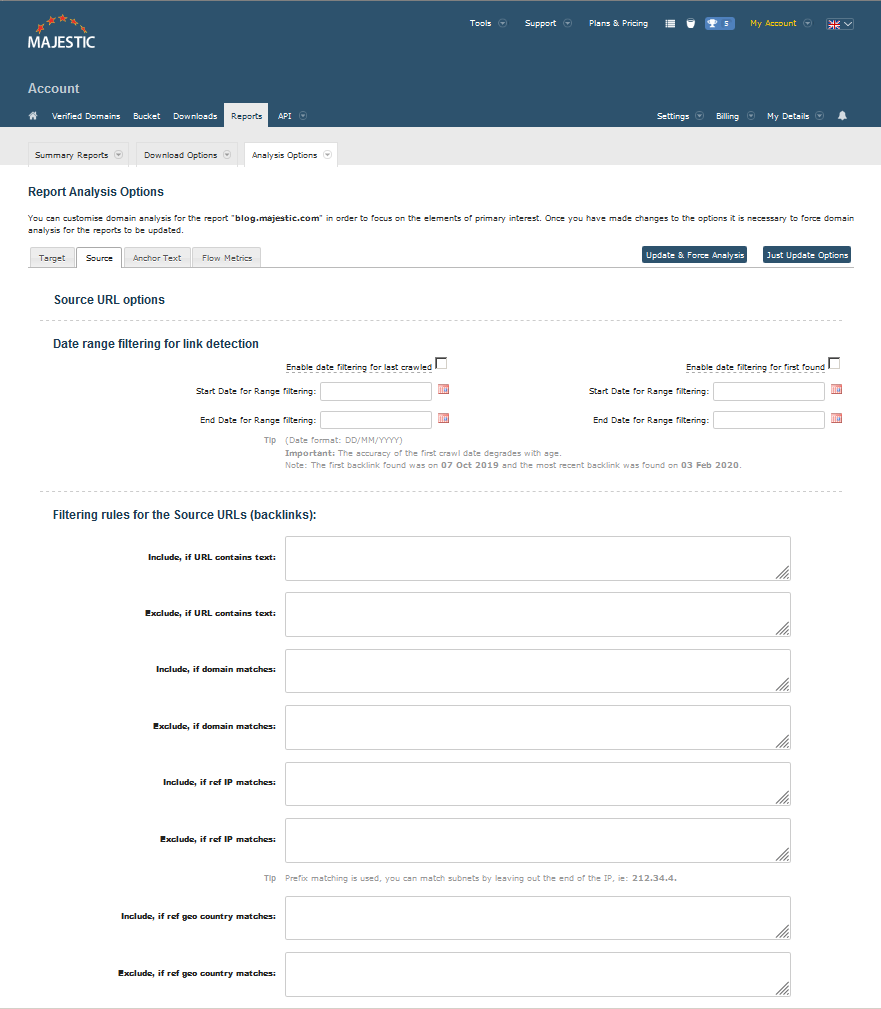
The top half of the “Source URL Options” box should need no adjusting. However – if you have a small “disavow” list of domains you want to ignore links from – the “exclude, if domain matches” box can be helpful.. To a point.
The real power on the “Source URL Options” for “not-deleted linked to pages” detection comes from the link options in the bottom half of the screen:
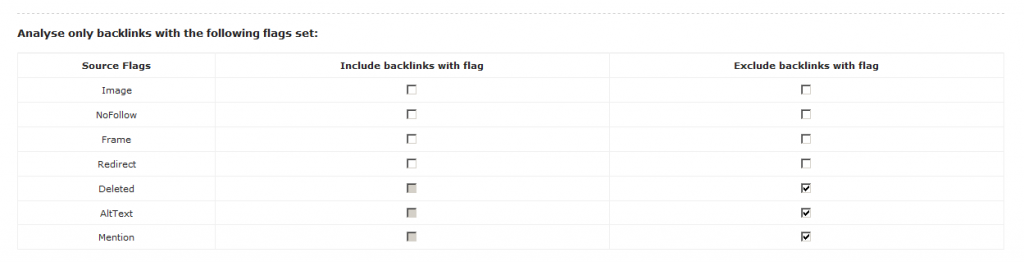
For the purpose of preparing our “live pages with links” report – we want to exclude deleted ( links we have seen in the past that are no longer here ), AltText ( links that aren’t real but may be mentioned in a the alt text attribute in a <a href> tag ), and “Mentions” – normally domain names mentioned but which are not linked to.
It’s important to note that you should only select flags from either the “Include” or “Exclude” columns – Not Both! If you mix and match it will generally result in no data being returned in your download.
The last panel is Flow Metrics – typically you will want this set to the widest range – Trust Flow and Citation Flow between 0 and 100, Trust Flow / Citation Flow Delta set to “OFF”. If you have a lot of links, however, and want to prioritise – you could consider setting a minimum Trust Flow or Citation Flow value, and consider adding a minimum ratio as well – such as “return links with a ratio greater than “0.4”.
With these options set, click “Just Update Options” to store your preferences. In order to prepare a download, we next need to visit the “Filter Backlinks to Download” tab, accessed via the “Download Options” menu.
Downloading data from the Advanced Report Screen.
After setting our analysis options and saving them, we now turn our attention to generating our download.
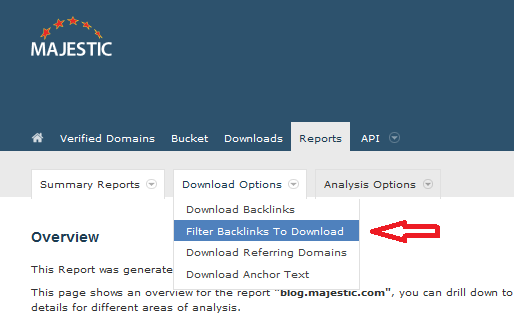
In order to generate a “Pages with Live Backlinks” report – we need to use the “Download Options” tab and select “Filter Backlinks to Download”.
This stage is critical in getting our data extraction right. There are two flags on this page which are essential to set before “preparing the download”.
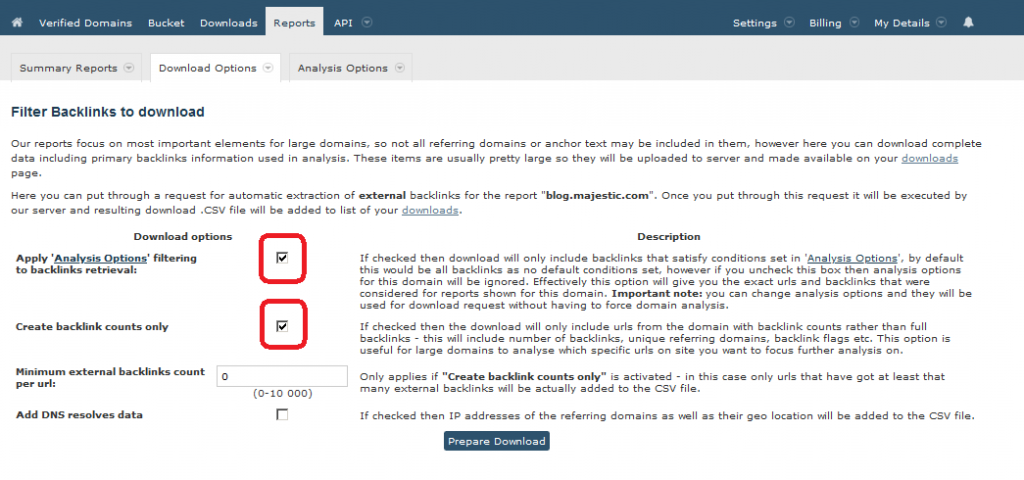
- It is essential that the “Apply ‘Analysis Options’ filtering to backlinks rerieval” is checked. Without this – we will just get a raw export ignoring the flags.
- In order to get a list focused on pages, rather than backlinks, we need to check the “Create backlink counts only” tab. This changes the focus of the backlink report.
The “Minimum external backlinks count per URL” box should be set to one – it’s probably best to avoid increasing this number and leaving any filtering at this level to Excel.
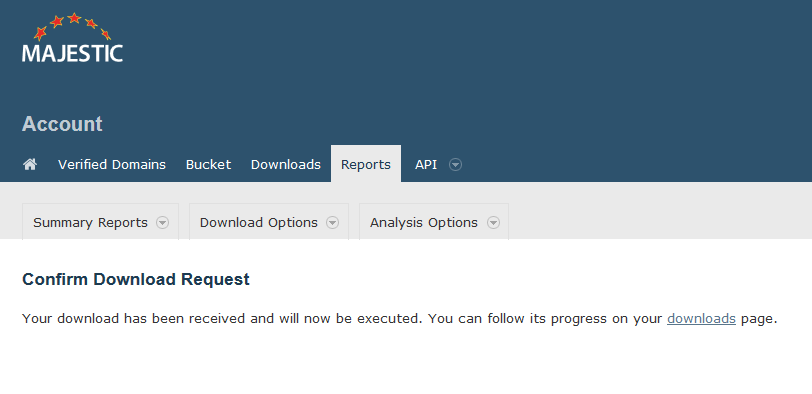
Once these options are set, press the “Prepare Download” button to request your report. Your request will be confirmed, and your download made available on the downloads page shortly.
Accessing your download
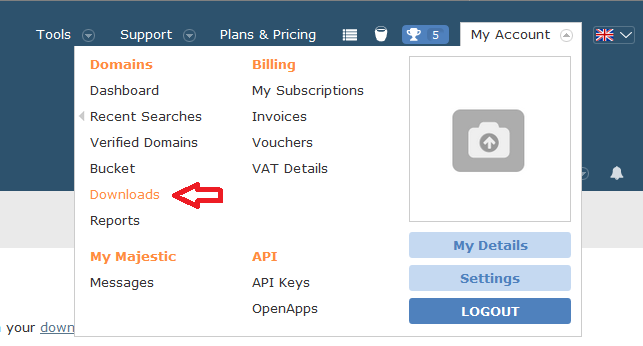
Your downloads are accessable via a “Downloads” link in the “My Account” menu
The downloads screen is simple – a list of reports to download and the ability to delete any superflious reports:
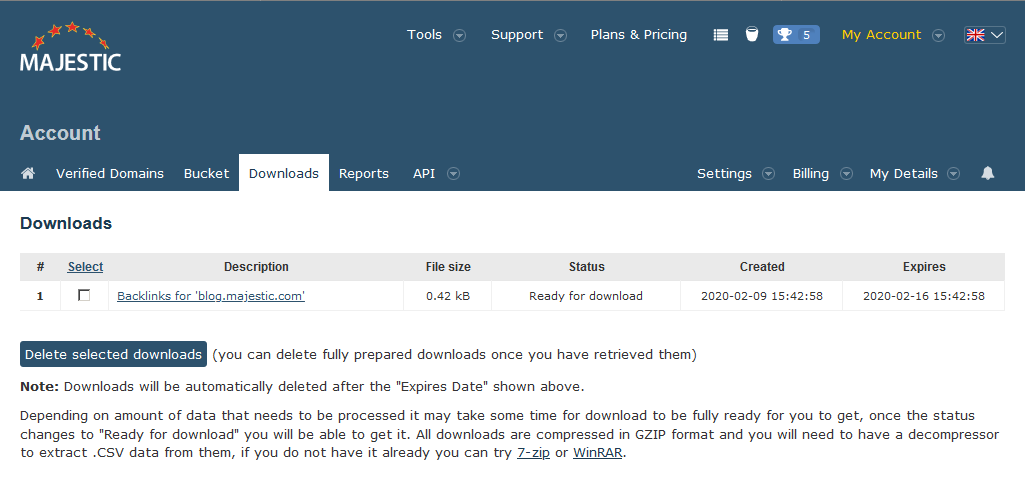
A key field on the “Downloads” screen is the “Status” column. Only when the Status is “Ready for Download” can you download your datafile.
The notes are important – additional software is likely to be required to access the .CSV file in the download. The Advanced Reports use “Gzip” – a different sort of compression to the “zip” format you may be more used to.
Linux and Mac platforms should be able to handle .gzip files easily – on Windows, unfortuantely, additional software is needed. We have used “7-zip” ( free ) and “WinRAR” ( paid ) to open these files.
Once the data is extracted, the CSV file can be opened easily in Excel. The columns will consist of the page URL – stored as “Target URL”, total number of backlinks and the Flow Metrics for the page – Trust Flow, Citation Flow, and Topical Trust Flow.

Steve has been engaged with the Birmingham tech scene for years, co-organising the grassroots open-source conference YAPC:: Europe 2008, and founding the West Midlands Java User Group in 2014.
- Majestic head office – relocation - March 31, 2026
- Introducing Duplicate Link Detection - August 27, 2021
- Python – A practical introduction - February 25, 2020
Hello Steve,
March 23, 2020 at 5:25 amThank you for the overview.I am new in SEO and tested 4 different tools to discover the links to my website Websst.I have noticed that there is a huge discrepancy between Majestic and the other tools in terms of discovered links and before I use paid subscription I want to make sure that I understand why this is happening.Based on that I can decide which tool to use for my project and in future.Can you explain why this is happening?